
You plug in your external hard drive into your Windows 10 or 11 PC and… nothing. No drive letter in File Explorer, maybe not even the usual connection chime. Before you assume the drive is dead, know this: most “unrecognized” external drives aren’t broken at all. The usual culprits are insufficient power, a bad cable, a missing drive letter, or a driver glitch — all fixable in minutes.
I recently connected a backup drive that played the connection sound but refused to appear anywhere. It turned out Windows had simply dropped its drive letter — one setting in Disk Management brought it right back. Work through the steps below in order, and there’s a good chance you’ll avoid both data loss and an unnecessary repair bill.
First, Identify Your Symptom
The right fix depends on how the failure looks:
| Symptom | Most Likely Cause< | Start Here |
|---|---|---|
| No connection sound at all | Cable, power, or drive failure< | Fix 1 → |
| Sound plays, but no drive in File Explorer | Missing drive letter or file system issue< | Fix 3 → |
| Drive shows up but won’t open / asks to format | Corrupted file system< | Fix 6 → |
| Repeated clicking sound | Physical drive failure< | See below ↓ |
1. Try a Different Port and Cable
Start simple. Rear ports on a desktop are usually more stable than front-panel ones. If you’re using a USB hub, remove it and connect directly to the computer. Cables fail surprisingly often, so swap in another one — and make sure it supports data transfer (some cheap cables are charge-only).
2. Rule Out Insufficient Power
Portable drives draw all their power from the USB port. When power runs short, you’ll hear the connection chime repeat or watch the drive connect and disconnect in a loop. Fixes:
- If the cable has two USB connectors, plug in both.
- If your drive has a power adapter, use it.
- Desktop rear ports deliver more reliable power than most laptops.
3. Check the Drive Letter in Disk Management
Hear the chime but see nothing in File Explorer? The drive may have lost its letter. Right-click the Start button and open Disk Management. If the drive appears without a letter, right-click its volume, choose Change Drive Letter and Paths, and add an unused letter. It usually reappears instantly — check File Explorer; your drive should be there within seconds.
4. Reinstall the Driver
A corrupted driver can hide a perfectly healthy drive. Right-click Start → Device Manager, expand Disk drives (or Universal Serial Bus controllers), right-click the device, choose Uninstall device, then restart. Windows reinstalls the driver automatically. Reconnect the drive and give it a few seconds to show up in File Explorer.
5. Test It on Another Computer
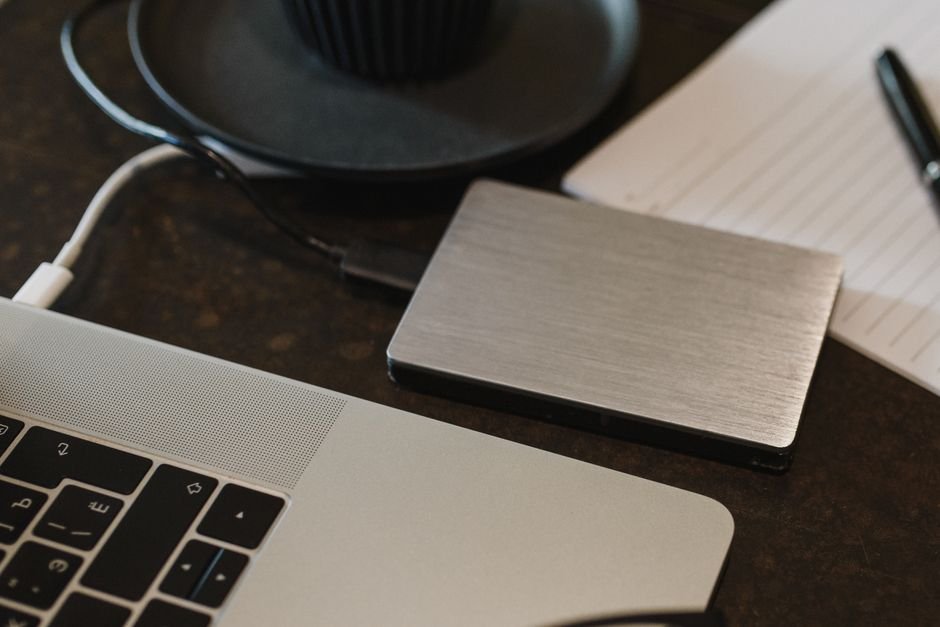
This step splits the problem in half. If the drive works on another PC, the fault is with your computer’s settings or drivers. If it fails everywhere too, the drive or its cable is the problem.
6. Check the File System — Carefully
Drive detected but won’t open, or Windows prompts you to format? That points to file system corruption. Do not format yet. If the data matters, look into recovery first. You can run a disk check from Command Prompt, but don’t push hard against a failing drive — every stressed read lowers recovery odds.
7. Disable USB Selective Suspend
Drives that keep disconnecting on laptops often fall victim to power saving. In Control Panel → Power Options, open advanced settings and set USB selective suspend to Disabled. With it enabled, Windows can cut power to the drive mid-session.
When It Really Is the Drive
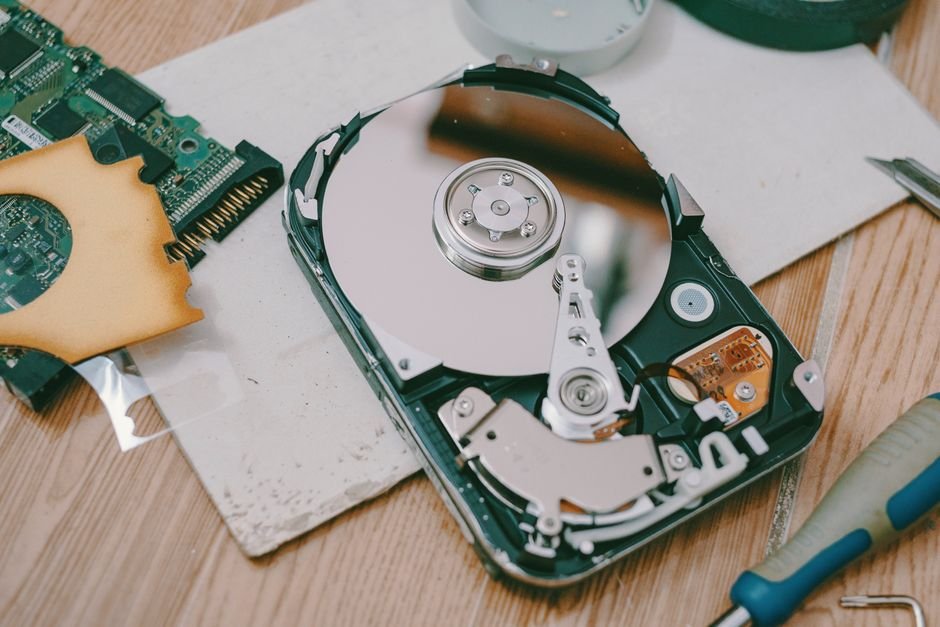
Repeated clicking, unusual heat, and failure on multiple computers point to physical damage. Keep using it or attempt formatting and you shrink the odds of getting data back. If the contents matter, stop connecting the drive and contact a data recovery service instead.
Bottom Line
An invisible external hard drive is rarely a dead one. Quick routing: no sound at all → start at Fix 1. Sound but no drive → go straight to Fix 3. Detected but won’t open → Fix 6. Clicking noises → skip to When It Really Is the Drive. Otherwise work through ports, cables, and power (Fixes 1–2) before touching drivers — that sequence resolves most cases. But if you hear clicking or the data is irreplaceable, resist the urge to format; recovery comes first. If this guide saved your drive, bookmark it for next time and share it with someone whose backup just vanished.
Photo credits: Pexels contributors.